
The ‘Advanced’ tab of the Case Filter Builder allows you to create powerful search operations from data fields in Trustee Suite. Listed below are detailed descriptions of how to use the ‘Advanced’ tab as well as tips that will be helpful to you when you create your expressions.
- To access the ‘Advanced’ tab, from the Trustee Suite Main Menu toolbar, select ‘SnapShots’, which invokes the SnapShots screen as shown below.

- Click on the ‘Filter Maintenance’ button in the upper right corner of the screen, which invokes the Filter Maintenance screen shown below.

- Single click on a Filter Name from the grid and click on the ‘New’ button on the right side of the screen, which generates the New Filter pop-up window shown below.
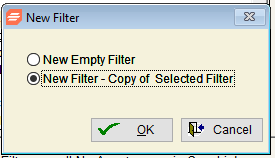
- Select ‘New Filter – Copy of Selected Filter’ and click on ‘OK’, which invokes the Case Filter Builder screen shown below.
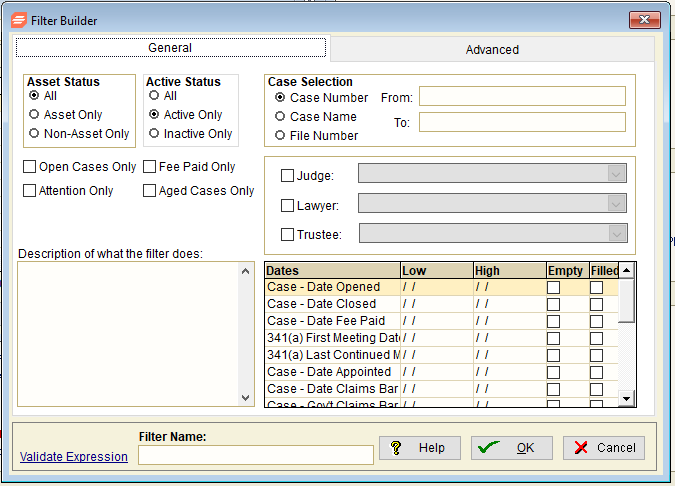
- Select the ‘Advanced’ button at the top right of the screen to invoke a second Case Filter Builder screen as shown below.

Expression Grid
Click on any column in the interactive grid and a drop-down list of fields will be displayed. Pick one of the fields form the drop-down list and continue to work your way across the grid selecting new fields in each of the columns. The grid allows you to add as many rows as you need to create your expression. Listed below are the titles of each column, click on the title name that you wish to learn about and additional information will appear.
Column Definitions:
- ID: ID is a unique identifier for your expression row. The ‘Template’ tab located beneath the grid will display the ID and operators, giving you a helpful starting point when trying to group (add parentheses) to your expression.
- And/Or: Select one of the two options, ‘And’ or ‘Or’, to determine whether both conditions must be true (AND this condition) or either may be true (OR this condition).
- Priority: The Priority column allows you to assign a numeric value to an expression row helping you control how the expression is evaluated. All like priority numbers are grouped together in parentheses and are evaluated together as a single expression. The priority number is always attached to the ‘And/Or’ operator and the lowest priority number will be evaluated first; in other words, it will be grouped in the inner parentheses.
For example: You would like to build an expression that finds all BAPCPA Cases, including those from converted cases. Your expression would need to look like this:

Notice how the Priority column has values between 1 and 3.
- The ANDs associated to the number 3 priorities are outside the parentheses
- The ANDs associated to the number 1 priorities are part of the inner most parentheses
- The OR associated to the number 2 priority is evaluated second, after the priority 1s have results. Notice how an additional group of parentheses is added around the two priority 1 groupings.
Creating complex expressions can be tricky, but the more you work with them the better you will become. If you have any questions or need help creating one of these, please call the Stretto Support Center at (800) 634-7734 we will be happy to assist you.
- Field: The Field column contains a list of Trustee Suite fields from which to build your expression. Each field is grouped by a category to help make your search easier (e.g., Ledger – Name).
- Is/Not: Select one of the two options, ‘Is’ or ‘Not’, to determine how the field is related to the Operator.
- Operator: Use the Operator drop-down list to select comparison values to your Field selection (e.g., building an expression for the field Case Name that is Equal to(Operator) a Value).
The operators available are determined by your selection in the Field column. Some operators are unavailable for certain fields (e.g., it is not possible to have a ‘WITHIN’ operation on a date field). See the table below to see which operators belong to each Field type.
|
Field |
Operator(s) |
| Character |
|
| Date |
|
| Date Time |
|
| Numerical
(including currency) |
|
| Memo |
|
| Logical (boolean) |
|
- Value
There are many different data types available for the Value column, as shown below, depending on your Field selection.
- Entering Values: Clicking on the Value column will display a small ‘Edit’ link. You can either click on this link or begin typing your Value to open the editing window. The drop-down lists available in the window contain data related to the Field in your expression. For example, you selected the Field Case, ‘Date of Discharge’. The drop-down list will show you all Discharge Dates stored in Trustee Suite. You can select a Value from this list or enter your own Value in the field provided.
- Ask Later: The ‘Ask Later’ link allows you to be prompted for a Value at the time you select the filter to be run with a SnapShot. This is a great way to create permanent filters that have a Value that is not always set in stone. For example, you selected the Field Ledger Balance (Total) but the Value of your Ledger Balance will vary each time you run a SnapShot. Selecting the ‘Ask Later’ link lets you keep one SnapShot without having to recreate one for each different Ledger Balance Value for which you could be looking.
- Today: The ‘Today’ link is displayed when the Field you selected is a date. Selecting this link will always set the current date as the Value when running your SnapShot.
Adding Expression Rows
To add a new row to your expression, click in the grid just below an existing row, select a field from the drop-down list and the new row will be created.
Deleting Expression Rows
To delete a row from your expression, click on the row in the grid that you want to delete. An ‘x’ will appear to the far right of the row just outside the grid. Select the ‘x’ and answer ‘Yes’ to the warning prompt. The row will be deleted and all existing rows will shift up. Note that if you have set up parentheses for handling your expression, deleting a row could alter the outcome of the expression; thus, ensure to review prior to saving any work.
Moving Expression Rows
As you create your expression, you can adjust the order; this will not only affect the display in the grid but could possibly affect the outcome of your expression depending on the parentheses set. To move the expression, select the row that you want to move. Two arrows, one up and one down, will appear to the far right of the row just outside the grid. Select the arrow that matches the direction that you wish to move your expression. Note that if you have set up parentheses for handling your expression, moving a row could alter the outcome of the expression; thus, ensure to review prior to saving any work.