
The Case Listing Report provides a detailed list of your cases that meet the general search criteria you have selected in the parameters screen. The last page of the report totals your Ledger Balance, if you have selected to print Asset cases on the report.
Accessing the Report
From the Trustee Suite Main Menu toolbar, select ‘Reports’, click on the ‘Case’ tab and select ‘Case Listing’ from the Print Reports screen to invoke the Parameters for Case Listing screen (shown below).

Generating the Report
From the Parameters for Case Listing screen, populate the following fields:
- Trustee: Select the Trustee number or ‘-All-‘.
- Case: Select the Case number or ‘-All-‘.
- Cases to Include field (includes several options):
- Date: Select either ‘Open’ or ‘Closed’ and a date range for cases to be included to view and print.
- Status: Select ‘Both’, ‘Open’ or ‘Closed’. Closed cases are determined by the existence of a closed case date.
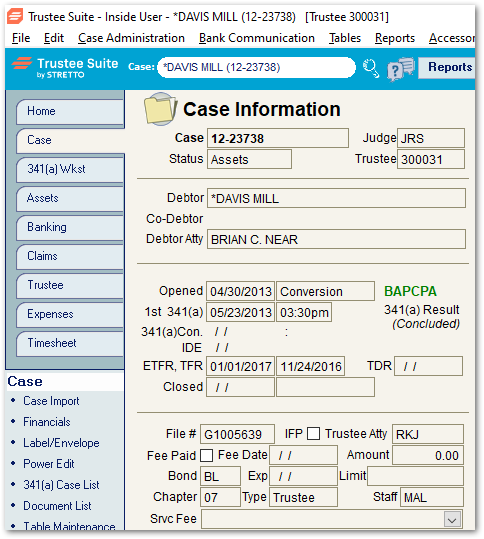
- Paid Status: refers to the “Fee Paid” area of the Case form (near the bottom of the screenshot below). If you systematically track cases for which you have been paid, there is the option (via the screen above) to select to report on ‘Paid’ cases only, ‘Unpaid’ cases only or ‘Both’ (to report on all cases).
- Asset Type: Select ‘Asset’ to report on Asset cases only, ‘No Asset’ to report on No Asset cases only or ‘Both’ to report on all cases. If you wish to exclude new No Asset cases, select the ‘Include only when the NDR date is at least xxx days in the past’ checkbox and provide a number of days.
- You may also select specific cases by marking them “for Attention” on the Case form. Do this by selecting the ‘Include Special Attention Case(s) only’ checkbox, which allows you to run a case listing of only your “Attention Cases”.
- Sort by: Select ‘Case Number’ or ‘Case Name’ via the radio buttons.
- Additional Information to Include (includes four checkbox options):
- Special Attention descriptions: Select this checkbox if you wish to include special attention descriptions in your report.
- Include Internal Memo: Select this checkbox if you wish to include an internal memo in your report.
- Case Administration information: Select this checkbox if you wish to include case administration information in your report.
- Include blank dates: Select this checkbox if you wish to include blank dates in your report. This box can only be selected if ‘Case Administration information’ is selected (otherwise, it is grayed out).
Printing the Report
From the Parameters for Case Listing screen, select from the following options:
- Preview: Selecting this button enables you to view before printing.
- Print: Selecting this button sends the report to the default printer.
- To PDF: This button prints the report to PDF and saves a copy to Document Management.
- Cancel: This button undoes any changes and cancels the print job.
- Save Defaults: This button sets the current field selections as the default each time this report is accessed.