
The Custom Documents menu is where you can instantly print Final Reports, Final Accounts or other customized reports for a case.
In order to appear in the Custom Documents menu, documents must be added to the Final Reports table (shown in the first screenshot below). Only add documents created by Trustee Suite to this menu.
- To set up the menu, from the top Main Menu toolbar (File Menu), select ‘Tables’ > ‘Setup Tables’ > ‘Final Reports’, which invokes the Final Reports table/grid. For more information on the Final Reports table (shown below), see the Edit Custom Reports page of this Help File.
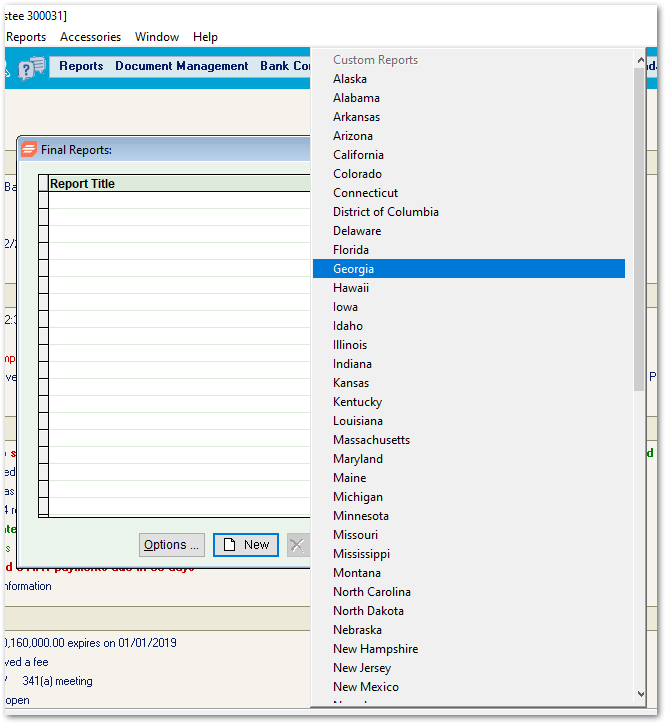
- Click on the ‘New’ button at the bottom of the screen, which invokes a pop up message asking whether you wish to “Install a Standard Final Report?” Select ‘Yes’ to invoke the second screenshot shown below.
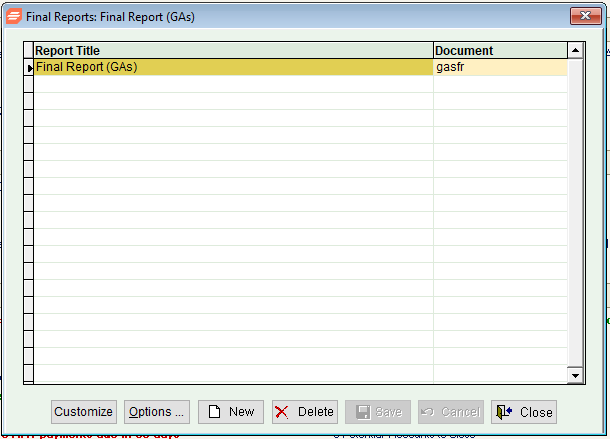
- Click on a State (Louisiana in this example), which invokes the third screenshot shown below and then click on the ‘Final Report (LA/MS)’ option, which will add the Final Report to the ‘Final Reports:’ table/grid (as shown in the fourth screenshot below).
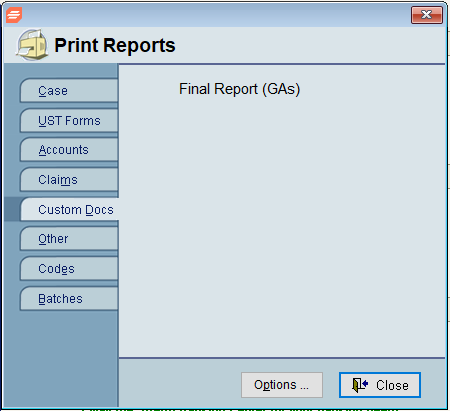
- From the Trustee Suite Main Menu toolbar, select ‘Reports’, which invokes the Print Reports screen (the fifth screenshot shown below), select the ‘Custom Docs’ tab and click on ‘Final Report (LA/MS)’ in this case, which invokes the sixth screenshot shown below.
- Select the appropriate fields (‘MS Word’ in this case and ‘Show SSN’, ‘Show Account #’ and/or ‘Review Data before Merging’, as necessary or applicable) and click on ‘Merge’, which will open a document in your word processing program, as shown in the last screenshot on this page.
- See the Edit Custom Reports page of this Help File for details on how to modify your Final Report.


Note: The Custom Documents menu is only for Final Reports, Final Accounts and other customized documents created by Trustee Suite.