Wire Transfer (Incoming)
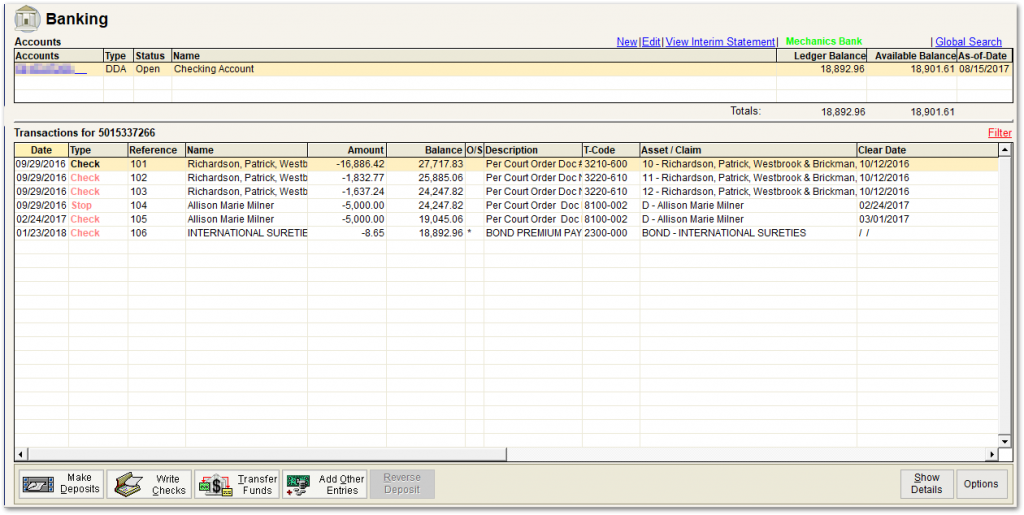
1. Click on the ‘Banking’ tab from the Form Selection toolbar on the far left side of the screen, which reveals the Banking screen (shown below).

2. Highlight (single click on) the account from the Ledger (Banking) screen grid for which you need to show a transfer exiting.
3. Click on the ‘Add Other Entries’ button. You will see the Select Entry Type window as shown below.

4. Click on the ‘Initiate Wire Transfer’ button and then on the ‘Decrease’ button.
5. Click on ‘OK’ and you will see the following pop-up.

6. Click on ‘OK’ and you will see the Wire Transfer Debit screen, shown below. Fill in the details of the transfer to match with the bank’s transfer date and amount. Use ‘9999’ for the Category. No claim reference is needed.

7. Click on ‘Save’.
8. Next, you must show the money going INTO the other account (Deposit Adjustment).
Disbursement Decrease
This transaction type is frequently referred to as a “Negative Adjustment”. This happens when disbursed funds are returned from the creditor/payee.
Wire Transfer Debit (ADD): The Disbursements column of Form 2 (which includes checks) will be increased, while the Ledger Balance will be decreased.
Incoming Wire Adjustments
As incoming wires are actions that you do not initiate through Trustee Suite, the credit entry associated with an incoming wire does not pre-populate in the case ledger. Trustee Suite will update the available balance showing you the incoming wire on the next business day after the wire was received; however, you will then need to add (post) the incoming wire to the case ledger in order to make your balances match.
In Trustee Suite, you have the ability to post the incoming wire from Bank Communication screen. Follow the steps below to learn how:
Step 1:
Go to the Trustee Suite Global Tool Bar and select the ‘Bank Communication’ tab and then select ‘Received Items’. Transactions located here will be in order by date.
Step 2:
Locate and highlight the incoming wire transaction you need, then click ‘Post to Ledger’.
Step 3:
The Create Ledger Adjustment screen will pop up. This will allow you to create the actual adjustment to the ledger. Leave the transaction as a Deposit Adjustment.
- The ‘Date’, ‘Cleared On’ and ‘Amount’ fields will automatically populate.
- Next, type in the Name and select a Description and Category from the drop-down fields.
- Save the adjustment. then click ‘Close’. The ‘Close’ option will only be available once the adjustment is saved.

Step 4:
Once the adjustment has been saved you will need to select ‘Mark as Reviewed’ in order for the Incoming Wire to appear on the case ledger.

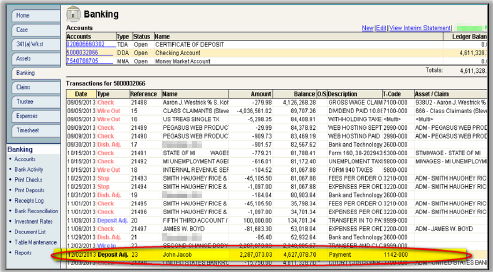
Now, when you open up the ledger, you will see that the balance has changed reflecting the adjusted incoming wire.

